With everything in place, the user can now begin the washing process. Start by pre-rinsing the vehicle with water to remove loose dirt and debris. This step is crucial as it helps prevent scratches during the washing process. After pre-rinsing, activate the pressure washer and spray the foam from the portable foam cannon onto the vehicle, starting from the top and working downwards. This technique ensures that the foam can flow down and cover all surfaces evenly.
Allow the foam to dwell on the vehicle for about three minutes. This dwell time is essential as it gives the soap enough time to break down dirt and grime. After the foam has had time to work, rinse the vehicle thoroughly with clean water from the pressure washer, again starting from the top and moving downwards. This method ensures that all soap and dirt are washed away effectively.
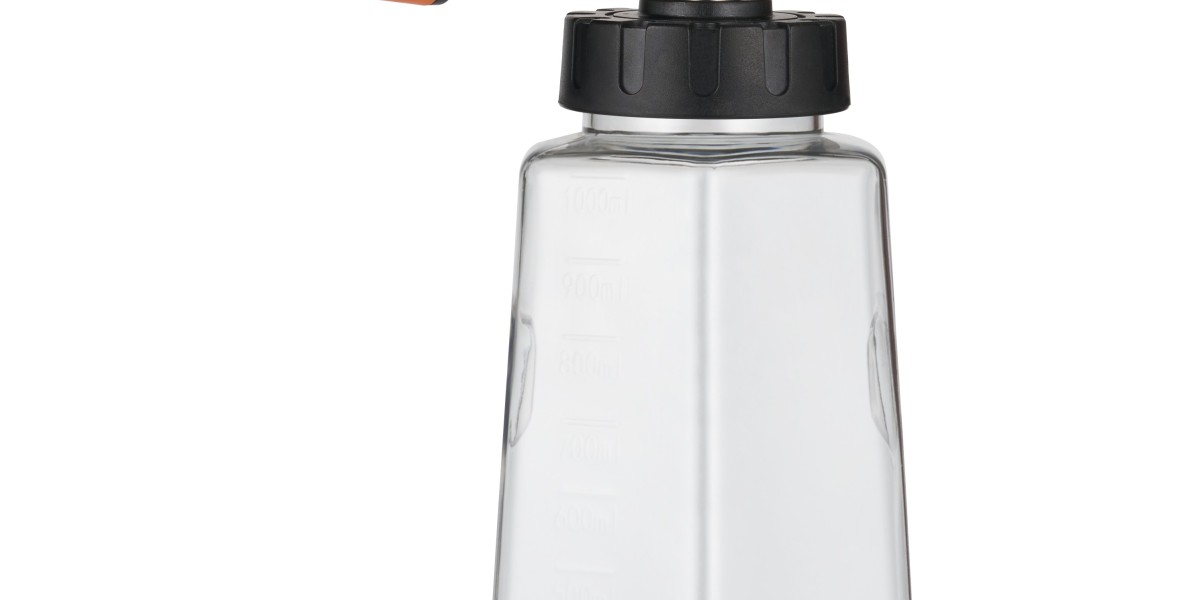
After rinsing, it is important to clean the portable foam cannon to maintain its performance. Disconnect the canister and rinse it out with clean water to remove any remaining soap. This step prevents any residue from clogging the nozzle or affecting future washes. Store the foam cannon in a dry place to ensure its longevity.
By following the proper steps for mixing soap, connecting the equipment, and applying the foam, users can achieve a professional-level clean at home. The combination of water, soap, and air creates a thick foam that clings to surfaces, making it easier to lift dirt without damaging the vehicle's paint. With the right technique and care, a portable foam cannon can be a valuable addition to any car enthusiast's cleaning arsenal.